
Finding and Creating Visuals for Your Class
 by Shannon Donnally Spasova, Michigan State University.
DOI: https://www.doi.org/10.69732/YUIN1226
There are many reasons to use visuals in your classroom. They can help you stay in the target language. They can help you to create a context or a story for your students to be engaged in. They can make the target culture seem closer and more real. Visuals can help all students to connect to and remember things, and, let’s face it, having visuals to accompany your lessons can just be fun!
However, maybe the pictures in the textbook aren’t fun enough or specific enough for your students and your context, or you just have a great idea that you haven’t seen anywhere before. What are the best tools to use to find or create your own visuals for your class? In the first part of this article, I will outline some of the best places to find images for use in your classroom. In the second part, I will introduce you to some tools to use to create visuals of your own, as well as show you some examples of how I have used these images in my classes.
FINDING VISUALS
We are all very much aware that the internet is rife with images that someone else took or created, and the guidelines about what teachers can or cannot use for free can be confusing. I will give you some places to go that have images available for educational use, as well as some rules of thumb for using other images that you may find. For a more in-depth discussion on the topic of copyright, here is an article called “Teaching Materials in the Digital Age”.
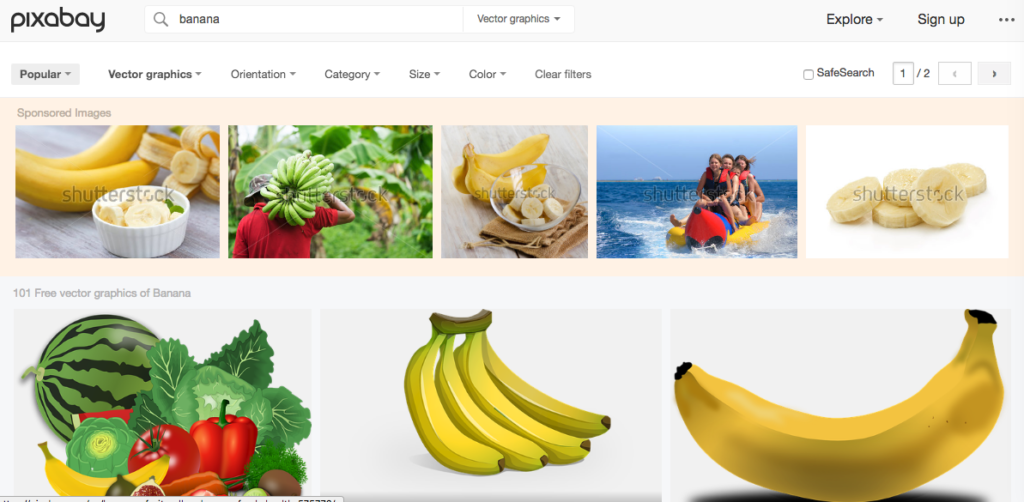
When looking for photos that are free to use, I go first to Pixabay (other good options are Unsplash and Pexels). The photos that come up at the top of the search results are for purchase, but the ones immediately below are available for use, and usually without any restrictions or need for attribution. You do not even need an account if you are satisfied with the smaller versions of the photos. For fairly standard objects and things that are not too specific, you are likely to find several choices here. You can also filter by image type, orientation, category, size, and color.
If you cannot find the image that you need on Pixabay, your next stop could be Google image search. The key is to use the search filters to find images that are available for reuse. Once you have typed in your search parameters and gotten results, click on “Tools” and “Usage rights” to find images that have been marked as available for reuse.
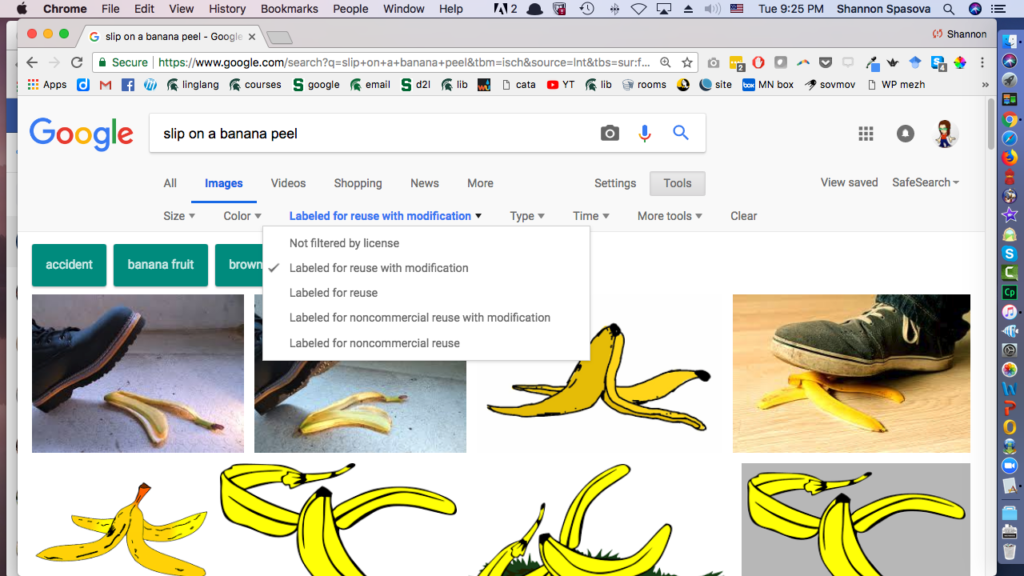
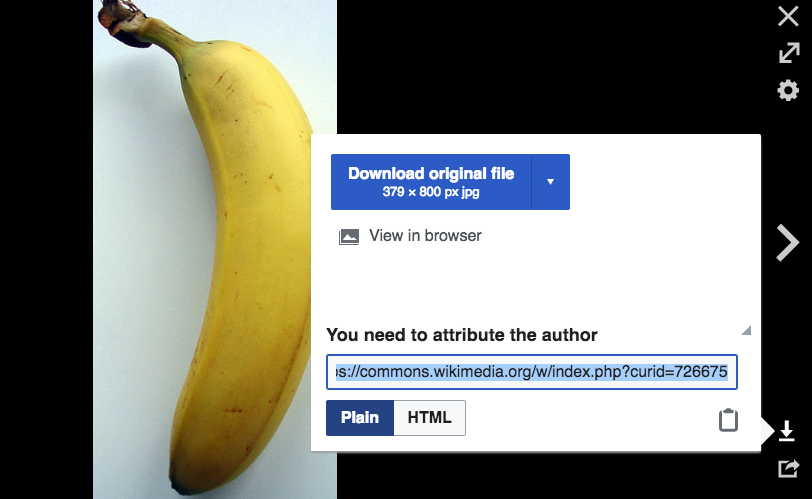
Some of the other filters are also helpful in finding the best image for your purpose. If your target culture has a search engine with similar filters, you might try it as well. Try both English and target language search terms. Many of the images that come out of these types of Google image searches will be from Wikimedia Commons (connected to Wikipedia), and Wikimedia Commons conveniently gives you the language that you need to properly attribute the image to its creator.
The University of Victoria has a Language Teaching Clipart Library. Though these images are small, they are organized into convenient categories and offer versions with either a white or transparent background.
If the picture that you are searching for is quite specific to the target culture, you might have trouble finding an image that is marked as free for use. In this case, I have several suggestions.
The first place to try is the Culturally Authentic Pictorial Lexicon. This is a database set up by Michael R. Shaughnessy with Creative Commons images tagged by language. Creative Commons images can generally be reused if they are given attribution and if the final product is also available for reuse. Unfortunately, not all languages are represented.
If you have friends and acquaintances in the target culture, or former students who are studying abroad, you might enlist someone to take a picture for you. I have sometimes been able to allow students going on study abroad to take a camera with them on the condition that they share their pictures with me and let me use them in course materials. Sometimes I ask them to get certain shots if they are able. Keep a list of images that you want to get the next time you get the chance to spend time in the target culture. Also if you are involved in target-language social media groups, someone in the group might be willing to send you a picture of something and give you permission to use it in your classroom.
If you find a picture on the internet that you would like to use and do not have other alternatives for getting your own version, you can try contacting the maintainer of the website where it is found and ask permission. Very often people are happy to provide pictures for educational purposes. If you are unable to contact the original owner of the image, you can also rely on fair use. Though the guidelines for fair use can be confusing, in many cases you can make an argument for using the image if several of the following are true. Note that the more fair use factors you consider beforehand, the stronger your fair use argument is.
- you are not using a large number of images from the same source,
- you are not affecting the market value of a product,
- you are using the image in a closed context like a classroom (not putting it out on the open internet),
- your use of the image is transformative (you are making something new out of it, like a slideshow for your class).
CREATING YOUR OWN VISUALS
Sometimes your course materials would really benefit from something that only you can make yourself, and even people who are not very artistically gifted can create some really good-looking visuals with a little bit of assistance from some free tools. These visuals can be based on authentic sources but can be made to fit into a storyline or scenario that you want your students to imagine themselves in, and there are no associated copyright problems.
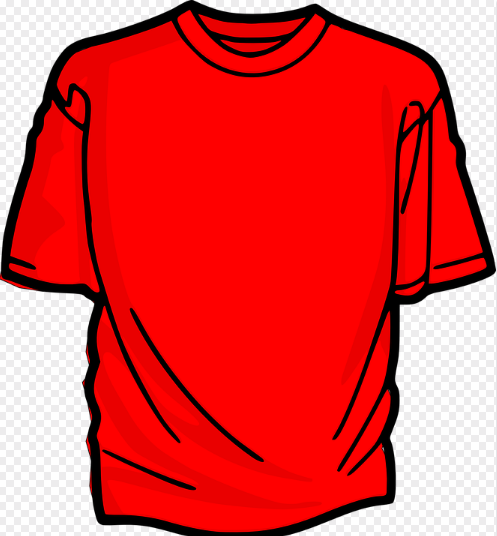
Often when I need to put together a visual, I will use Google Drawings (a not-so-well-known feature within Google docs). It gives you a simple palette into which you can bring several images and add text or other shapes. The image below combines pictures that I found on Pixabay. Students had to listen to a description of what is in a suitcase and match the description with the image of the suitcase.
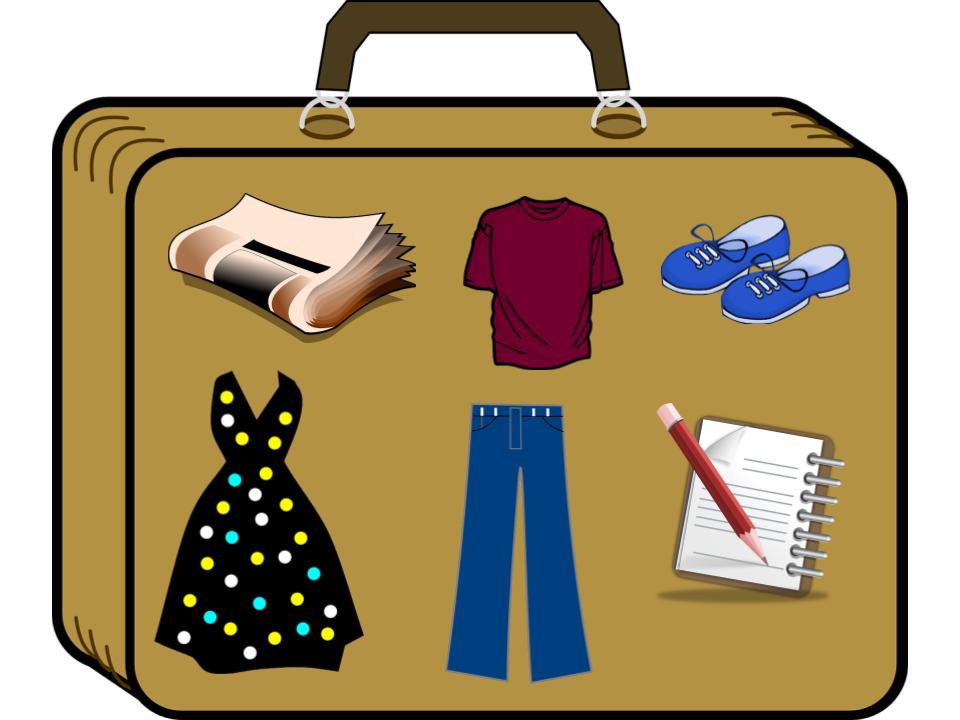
You will notice that the images are placed on top of the suitcase image, without any background color. When you search in Pixabay using filters, you can choose “Vector graphics”, which will give you images that have a transparent background. You can tell that a background is transparent if it has a grey-and-white checkering behind it, as in this example:
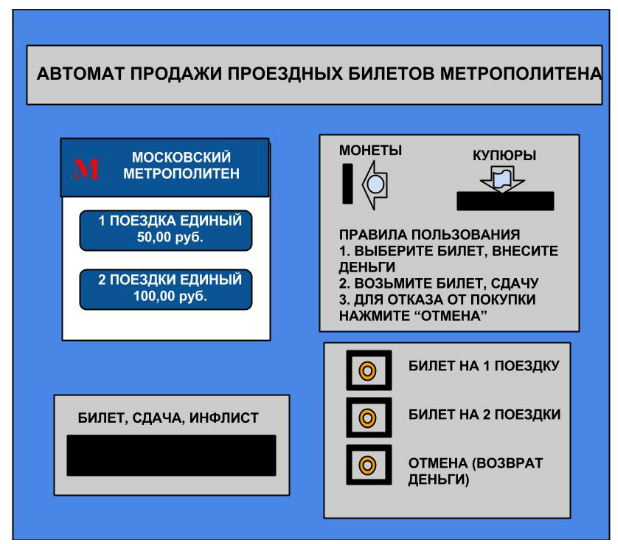
Sometimes very useful visuals can be put together simply using a series of shapes. When I was working on a lesson about how to buy metro tickets in Russia, the only picture that I had of a machine that you could use to buy tickets was blurry. Instead of abandoning my idea, I recreated the machine using simple shapes in Google Drawings. If you need something more complicated than the shapes available in Google Drawings, you might try The Noun Project. This is a website that has simple pictures that can be used for free (if you attribute the creator).
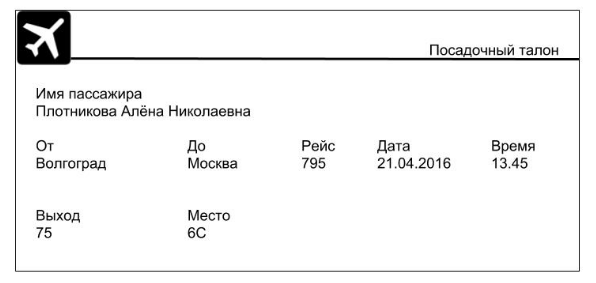
Similarly, I wanted to create an activity in my lesson that had a single character traveling to various destinations. I only had one authentic plane ticket, so I used its format to create others.
Sometimes you can make small tweaks to existing visuals to fit your purposes. I was creating an activity where students had to “make” a recipe by dragging ingredients in the correct order to the borshch pot by listening to the names of the types of food. The pictures were all found on Pixabay.
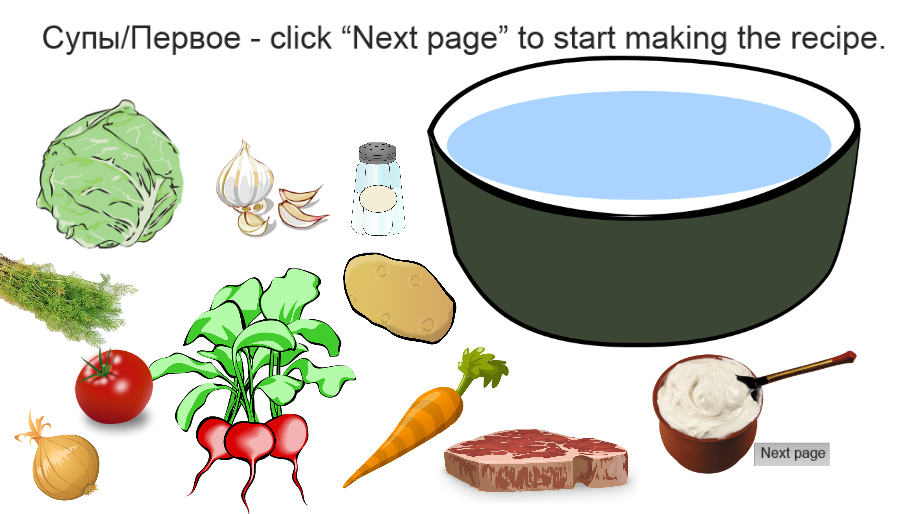
After the beets were added, I wanted the “soup” to turn red, so I added a red oval over the pot, altering the original image slightly to fit my purpose. The bowl includes white dots to indicate the sour cream that is always added right before you eat (which also makes the soup turn pink)!

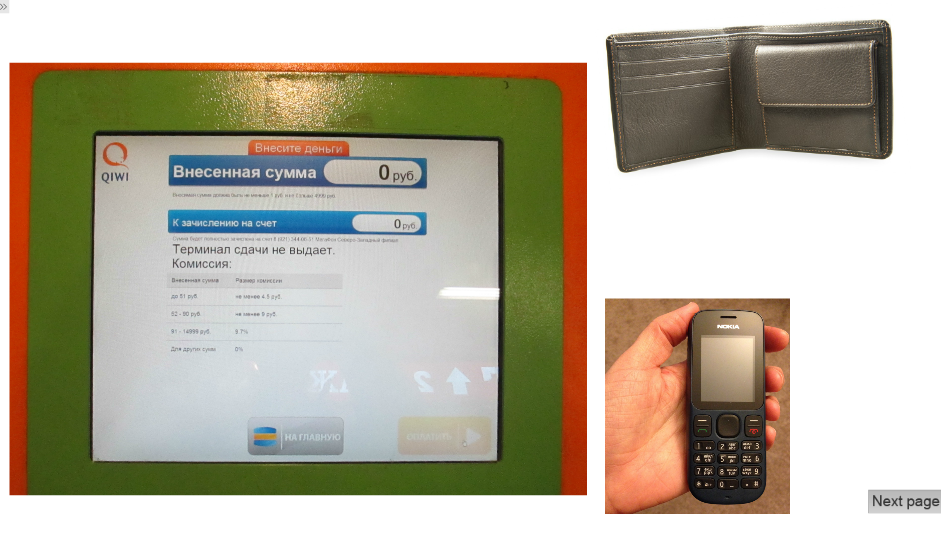
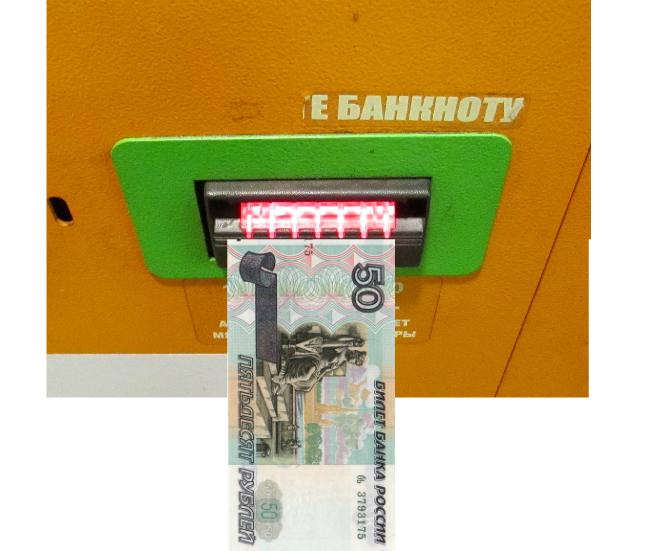
You can also combine authentic images with images found on Pixabay to create a scenario. I wanted to have my students practice how to load their Russian cell phone account with money, since the study abroad program would give them cell phones to use while on their program in Russia. I asked an instructor in our program who was going to be in Russia to take photos of the screens on the machine, the machine itself, and then combined those with pictures of a wallet, the phone, and different denominations of rubles to have students practice the steps to load up their account.
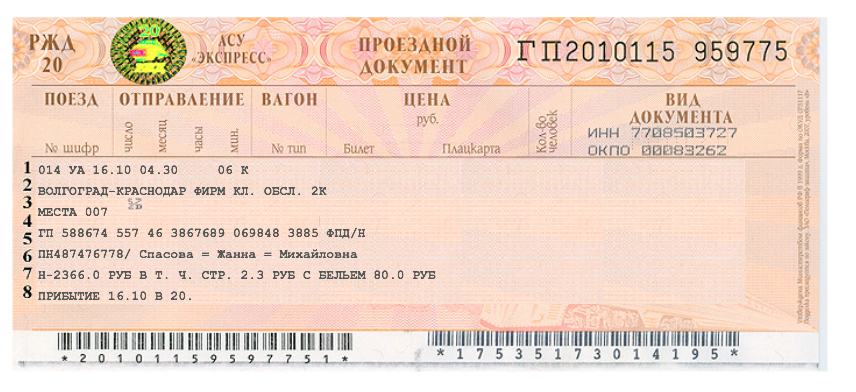
In some cases, you can personalize authentic images. The program that I was using for my lessons for preparation for study abroad (Adobe Captivate) allowed me to have students enter their name into one page and then it would create a personalized train ticket based on their name and what trip they chose. If you look at the ticket below, it is personalized to me with my name (Жанна) and the city that I chose to visit (Краснодар).
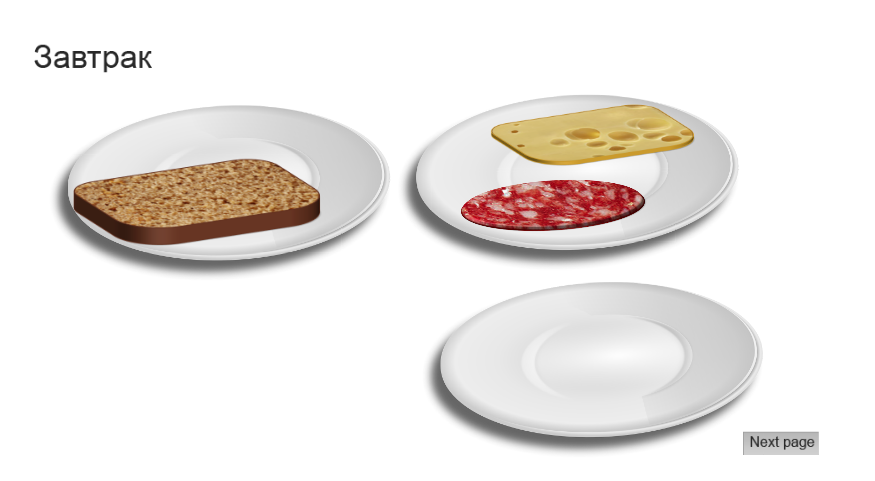
If you get extremely motivated, you can also create some of your own fancy customized images. I wanted students to learn what a typical Russian open-faced sandwich has on it. Using this tutorial (http://elearning-examples.s3.amazonaws.com/sl-sandwich/story.html), I learned how to use PowerPoint to create 3D images with a customized texture. The bread, cheese, and sausage in the picture below are shapes that I made 3D and added the look of the bread/cheese/sausage using photos.
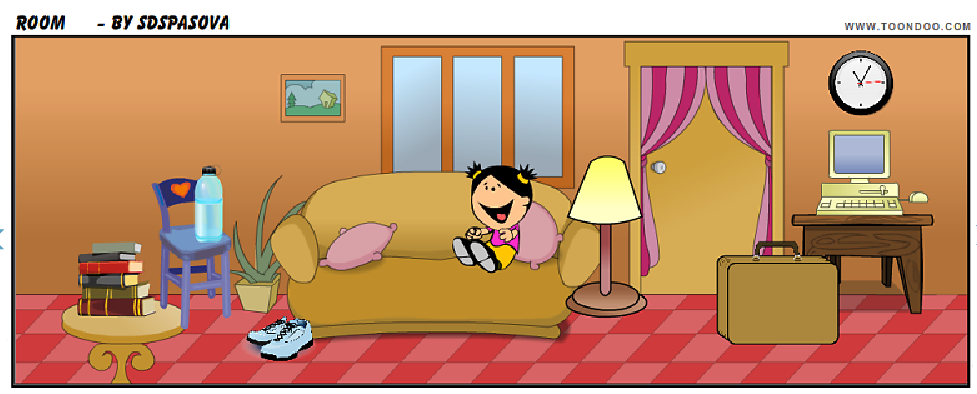
It’s also a great idea to get students involved in the creation of visuals. You can have them create scenes and narrate or describe them. A great free tool for this purpose is Toondoo. Lots of backgrounds and objects are integrated right into the tool, so students don’t have to search and bring in images from various sources.
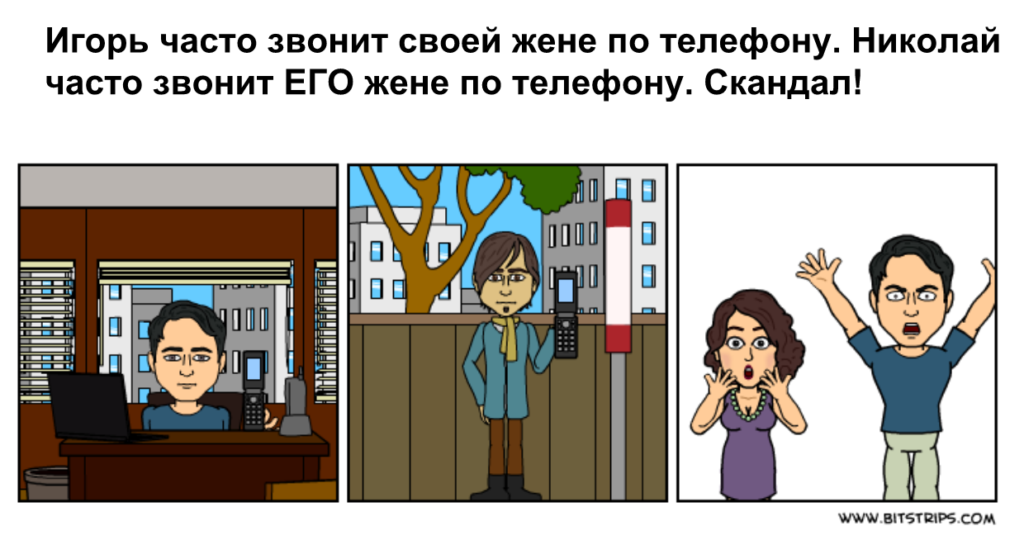
Comics can have more than one panel so that a story can progress, and some comic creators (like Pixton) can allow the characters to have facial expressions that show emotion.
Students also love to both read and create memes. To find memes relevant to a certain topic, I will just usually search the relevant vocabulary item along with “meme”. You can have students easily make memes at Meme Creator.
When creating visuals, as with any activities, as teachers we want to make sure we are keeping in mind a balance between authentic, yet understandable materials that are culturally relevant and relatable to our students. If you have other suggestions for great resources or ideas for creating visuals for your class, leave a message in the comments!