Crowdsourced Article: Your Best Tiny Tech Tips
In this crowdsourced article, we brought together a collection of “tiny tech tips”. If you already know all these tips, you are a tech guru!
If you have a tech tip to share, please submit it to us at Tiny Tech Tips. Your tip might be featured in a future crowdsourced article!
DOI: https://www.doi.org/10.69732/IMLE8934
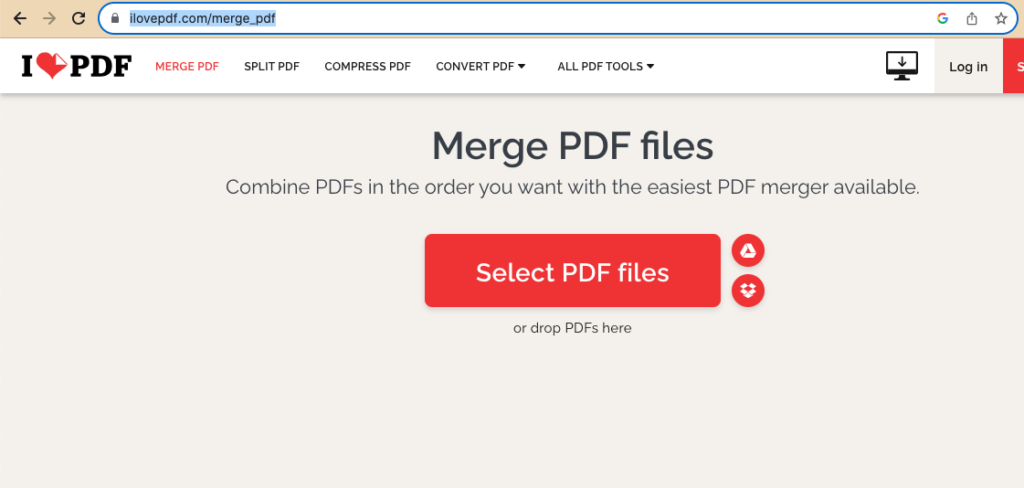
I Love PDFs!
By Lauren Hetrovicz, Community College of Baltimore County
If you have ever wanted to merge several PDFs into one single PDF and/or reduce a PDF’s file size, be sure to explore the I Love PDF website (https://www.ilovepdf.com/merge_pdf)! To merge multiple PDF files into one single PDF, navigate to the I Love PDF website, and, when prompted, upload all of the PDF files that you would like to merge into one single PDF. Then, arrange the files in the order that you would like them to appear in the single PDF by dragging each file icon in order of preference. Finally, press the “download PDF” button. Important tip: once the merged PDF has been downloaded to your computer, be sure to rename your file before emailing it or uploading it into the site of your choice. As for reducing a PDF’s file size, on this same website, click the title “Compress PDF” at the top of the screen. Then, when prompted, upload the PDF that you would like to compress. Next, choose your compression preference, whether “extreme compression”, “recommended compression”, or “less compression” depending on your file size needs.
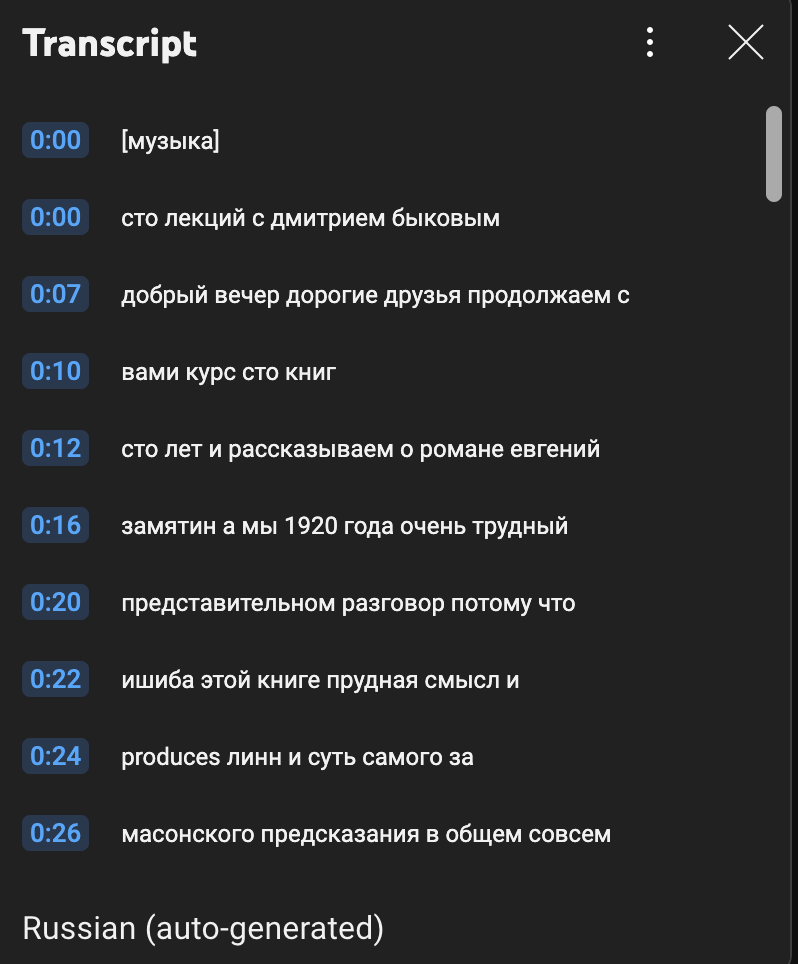
Transcripts for YouTube Videos
By Shannon Donnally Quinn, Michigan State University
Not everyone knows this! But you can often find and then copy and paste the transcripts for YouTube videos!
Below the video is a description of the video. To get the transcript to show, if it exists, you might need to first click “See more” / “See less” a couple of times to trigger it to show up. Then click “Show transcript”. It will appear on the top right side of the page. If you want to see the transcript without the time stamps, click on the three dots on the right side and click “Toggle timestamps”. Then you can copy and paste the transcript into a document. Don’t forget that if it’s auto-generated you will probably have to correct some mistakes!
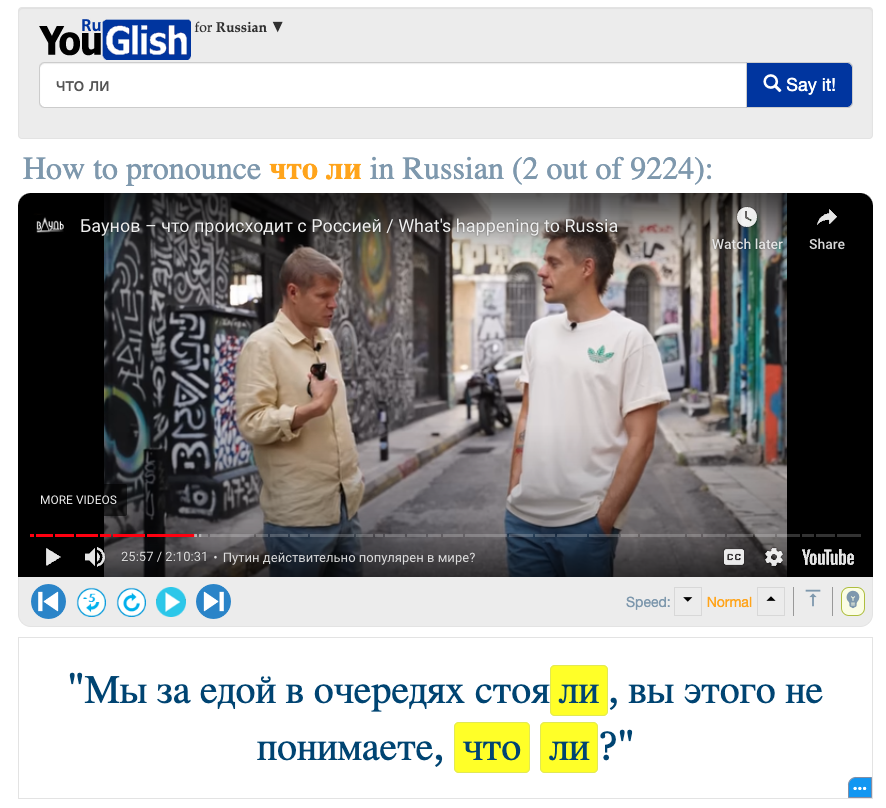
YouGlish, IGlish, WeGlish, TheyGlish
By Nick Swinehart, University of Chicago
YouGlish is a very useful site that allows you to search on YouTube for a particular word or phrase so that you can hear how it is pronounced in a variety of contexts. You can also use it to find videos on similar topics so that you can have your students listen to more than one clip with the same words. Languages supported include: Arabic, Chinese, Dutch, English, French, German, Greek, Hebrew, Italian, Japanese, Korean, Polish, Portuguese, Russian, Spanish, Swedish, Thai, Turkish, Ukrainian, and Sign Languages.
Open a YouTube Link at a Particular Spot in the Video
By Edwige Simon, ICLS
YouTube has a feature that allows you to create a custom link that starts at a specific point in the video.
Here are instructions:
* Open the clip and play until you reach the point where you want students to start watching it.
* Click share
* Check the box “Start at”
* Copy the link and share it with your students

Use ChatGPT With Your Voice
By Shannon Donnally Quinn, Michigan State University
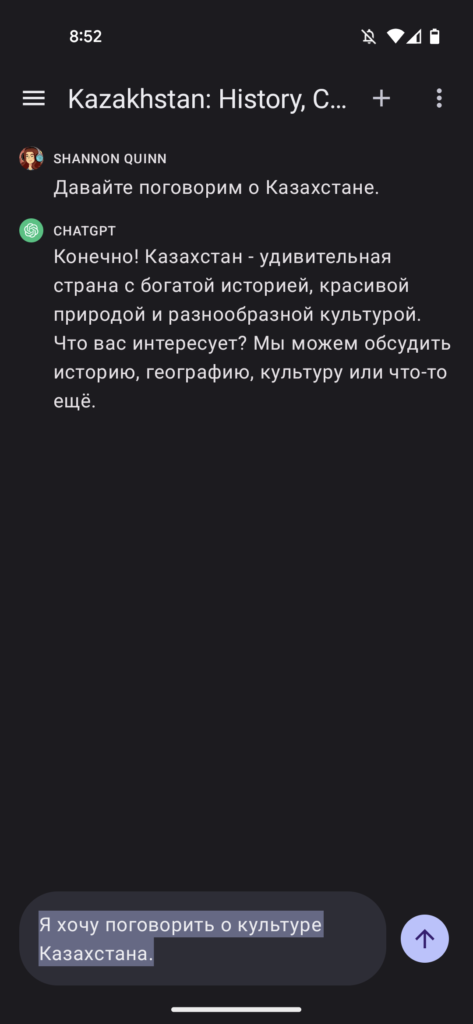
You can now talk to ChatGPT in your target language using your mobile device. First install the ChatGPT app on your mobile device, log in to your OpenAI account, and allow it to use your microphone and record audio. In “Settings” you may want to specify the target language as the main language.
Then to have a conversation, click your microphone. ChatGPT will interpret what you say and then if it has interpreted you correctly, submit your prompt and ChatGPT will respond (in text). If you have a premium account, you may be able to have ChatGPT respond with text-to-speech (check under New Features in Settings).
|
|
|

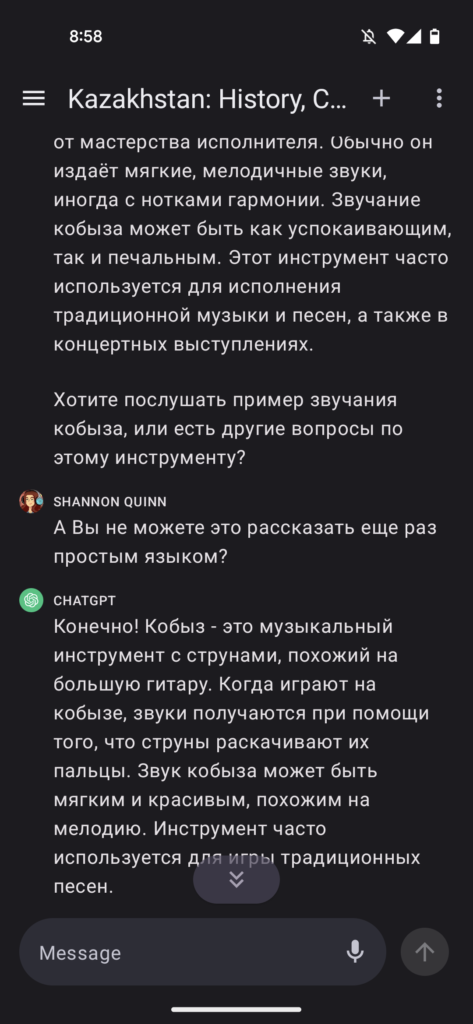
Like any other conversations with ChatGPT, your conversation will be saved in your account (in text form) in case you want to refer to it later.
This is one way that students can practice speaking in a low-stress environment. It may be a good idea to help students develop some strategies in interacting with ChatGPT, like letting them know how to ask it to rephrase what it just said in simpler language.
Don’t Stress about Stress Marks!
By Kimberly (Kira) DiMattia
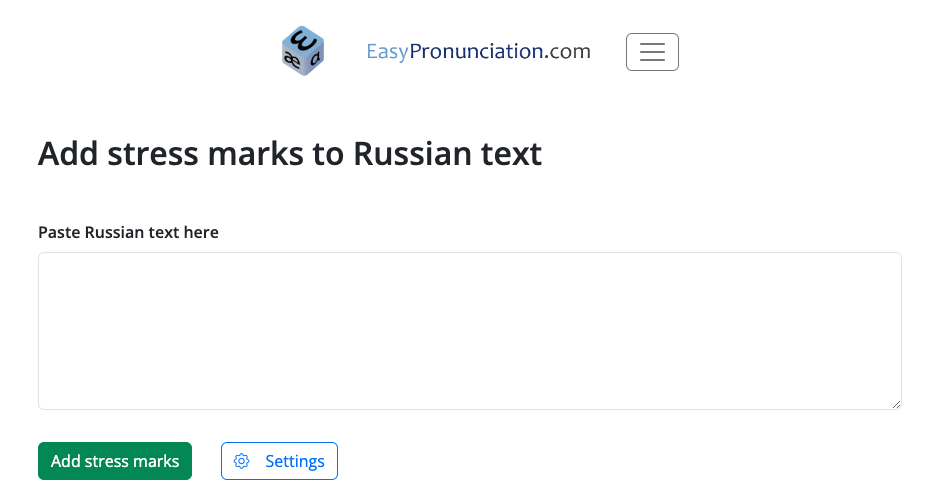
I use the following tip to add stress marks when I type https://youtu.be/JUZSxkBTFAY?si=9BI8iWrhVBx7len_ . I also LOVE https://easypronunciation.com/en/add-stress-marks-to-russian-text for paragraphs and larger texts.
Oodles of Target Language Texts and Translations!
By Shannon Donnally Quinn, Michigan State University
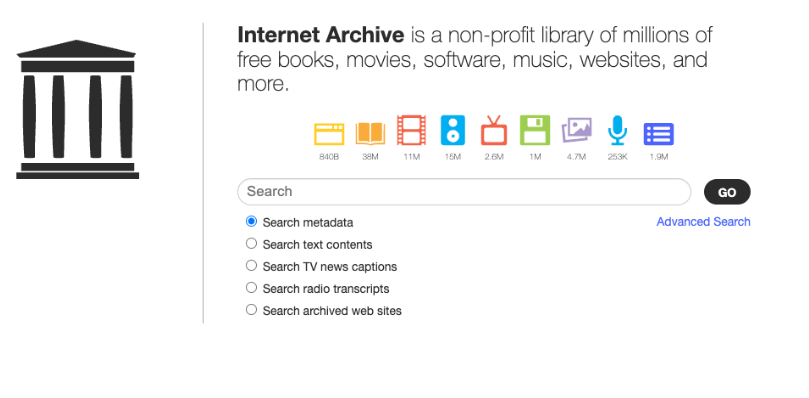
The Internet Archive (https://archive.org/) is an online library that allows you to search for and borrow texts and other types of media. Because it is a conglomeration of libraries, I have been able to borrow and read hard-to-find titles in Russian, as well as out-of-print English translations that are no longer easy to purchase.
Improve Your Audio Quality with iMovie
By Molly Godwin-Jones, University of Hawaii at Manoa (Language Flagship Technology Innovation Center)
Is the audio quality in your video clip less than desirable? Improve it quickly in iMovie! This can be a great way to decrease background noise and highlight the speaker, which can be helpful if you are using automatic speech-to-text generators that need good quality audio to detect the text. In iMovie, go to the panel in the top right. Start off by using the automatic quality enhancer option–select the icon of the sound symbol (fifth from the left), then click “Auto”. Next, try to reduce the background noise–click on the icon of the sound bar (to the right of the sound symbol) and select the option “Reduce background noise”. There is a slide scale next to the box where you can select how much to reduce the background noise (I usually start off with 100% and see how it sounds). You can also select the Equalizer option, I use “Voice Enhance”, but you can try the different ones to see which sounds best for your audio. Sometimes the audio might still be a little grumbly, but these quick methods are a good way to make audio quality good enough for speech-to-text detectors.

Increase the Size of Your Cursor
By Edwige Simon, ICLS
It is not always easy for students to follow your cursor when you are screensharing. On both Macs and PCs, you can increase the size of your cursor.
Here are instructions for Mac users and instructions for PC users.
Force a Copy in Google Docs
By Lauren Rosen, University of Wisconsin
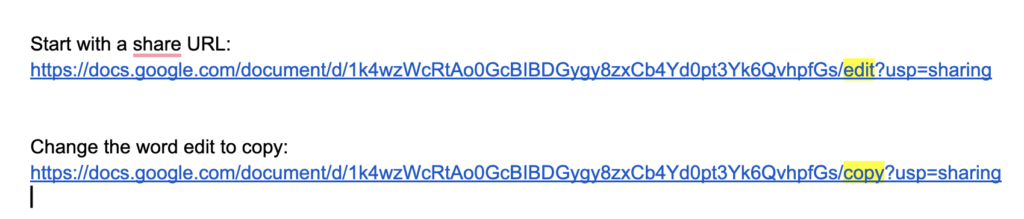
Sometimes you want students to make their own copy of a Google doc and edit it from there. There’s an easy way to ensure that when they open the document, it will automatically make a new copy. Click “Share” in the top right of the document, choose “Anyone with the link” for the link access. Copy the link. Then when you have the link, replace the word “edit” with “copy” (no quotation marks). Now when someone opens this link, it will automatically prompt them to create a new copy.
Google Docs for Group Work
By Dan Nickolai, Saint Louis University
For in-class group activities, I maintain a very basic Google Site with ten links (Group A, Group B, Group C, etc.) Each link opens a blank Google Document unique to each group. This allows students to write a dialogue together, and for their work to be quickly projected to the rest of the class. Sharing the documents in this way also presents an opportunity for everyone to comment and suggest revisions. This approach requires very little preparation (create a site, create a few blank docs), but saves lots of class time!
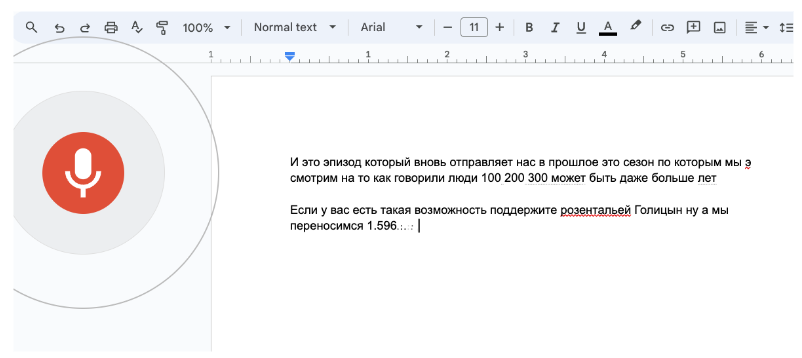
Create an Audio Transcript with Google Docs
By Shannon Donnally Quinn, Michigan State University
If you have an audio file that you would like to transcribe, try using Google Docs for it! Open the Google doc, click on “Tools” and then “Voice typing”. You then need to choose the language, click the microphone icon, and then start playing the audio file. The Google doc will transcribe what it hears. Of course it will need correction, but it at least gives you something to start with!
Find Creative Commons Images
By Shannon Donnally Quinn, Michigan State University
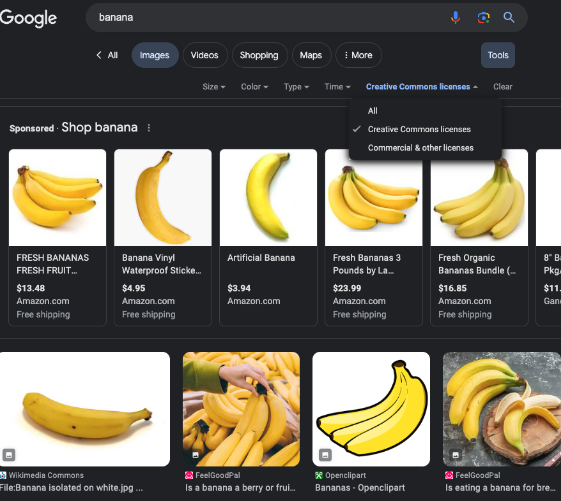
Sometimes it’s hard to know whether images that you find on the internet are free to use. But a simple search filter can help you identify pictures that have been tagged with Creative Commons licenses. After you have done a search and clicked “Images”, click “Tools” and “Usage Rights”. Choose “Creative Commons licenses”. The top row might have other results, but starting in the second row are only images that are labeled with Creative Commons licenses. For more tips about finding and creating visuals, check out the article Finding and Creating Visuals for Your Class.
Will be looking forward for more!!
Very usefull information on tiny tech tips.
Thanks for sharing
I love the idea of a ‘tiny tech tips’ column! Keep ’em coming!
Exciting collaboration! ‘Crowdsourced Article: Your Best Tiny Tech Tips’ – Looking forward to discovering and sharing those little tech gems that make a big difference!