
StoryMap for Designing Place-based Multimodal Narratives
By Angela Lee-Smith, Yale University

DOI: https://www.doi.org/10.69732/CSEM9469
Introduction
Storytelling is an extremely valuable activity for developing students’ language skills. StoryMap is a helpful storytelling tool for language learners to effectively communicate and share place-based digital storytelling that narrates about people, events, emotions, and information related to specific places. The online platform, developed by Northwestern University’s Knightlab, allows users to set locations or identify and mark places which can correspond to a series of events. StoryMaps offers users the ability to integrate multimodal texts by supporting the use of photo images, audio, video, and writing. In addition, its interactive and engaging geographic mapping creates a more dynamic and engaging communication experience than traditional static presentations using a paper map or slide presentation. In practical terms, the StoryMap platform is sustainable and accessible, so language instructors and students can easily add, edit, and save. The platform can be used regardless of classroom mode — virtual (synchronous, asynchronous), in-person, or flipped.
| Name of the tool | |
| URL | https://storymap.knightlab.com/ |
| Primary purpose of the tool | To create a series of place-based storytelling/narratives mapping on a digital map platform incorporating photos, audio/video, and writing. |
| Cost and subscription | Free, but you need a Google account to use the tool |
| Ease of use and accessibility | Straightforward and easy to use |
Sample Student Projects that Implement StoryMap JS at All Levels of Proficiency in Korean
Here I provide some examples of student-produced place-based projects at all levels of proficiency. These projects were produced individually or collaboratively using StoryMap JS.
| StoryMap Project and Technology Incorporation |
My Happy Place (Beginner class)
|
| Project description and objectives: This project aims to facilitate supportive environments where students can be socially connected and build a sense of community by recommending their happy places on campus and the surrounding area. It is a multimodal and place-based digital storytelling project from a first-semester Korean class and shares each student’s storytelling about “my happy place” at the campus and local area, in multimodal meaning-making ways: visual, aural, and spatial modes (e.g., video, images, music, mapping, on top of linguistic mode (oral and written). |
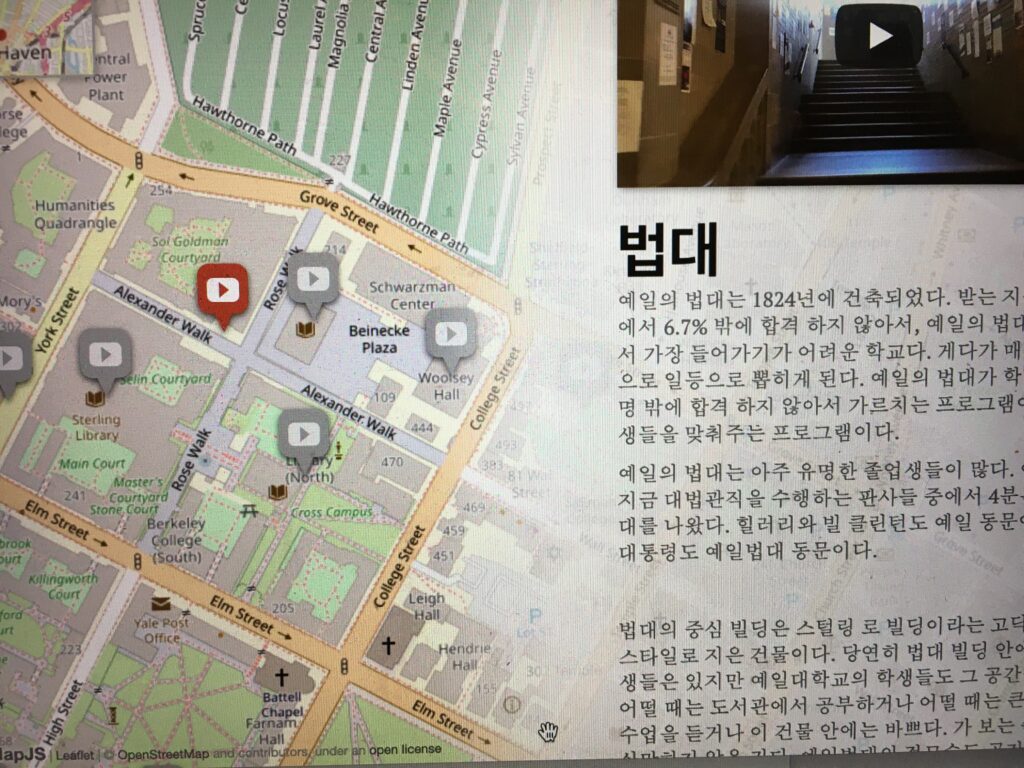
Campus Tour Guide (Intermediate class)
|
| Project description and objectives: This is a class project to create a digital college campus tour guide. Each student in the intermediate Korean course chooses one of the most important or unique features of the campus and writes a guide or informative text about that feature. As a class, the students produce and publish a comprehensive campus tour guide including a written brochure and oral guide in Korean. Featured information includes residential colleges, libraries, statues on the campus, dining halls and food, university history, student communities (extracurricular clubs), diversity and cultural centers, and opportunities and resources. |
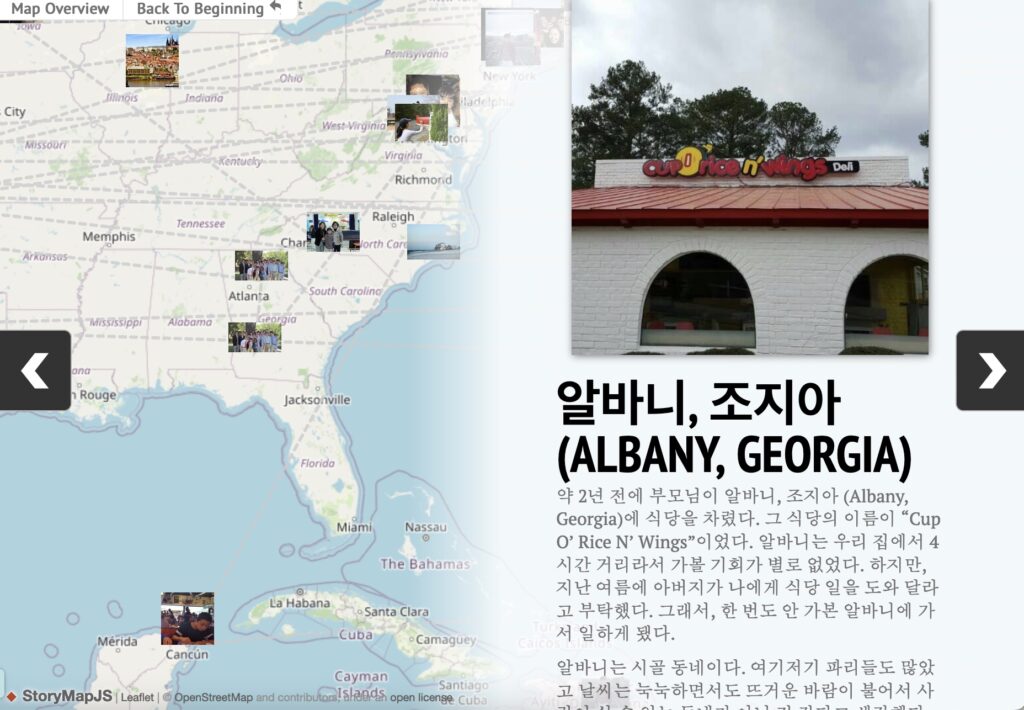
Life StoryMap: Retracing My Footsteps (Advanced class)
|
| Project description and objectives: This project explores how life stories and autobiographical writing promote learning in an advanced language course. Students reflect on their lives and choose three major / meaningful / memorable / influential places for them and write short narrative essays about them using the StoryMap tool. This project features autobiographical writing as an activity through which learning is fostered and mediated is a major strand of narrative in adult education. Such writing leads to learning and growth as it enables students to bring a sense of order to life, to reflect on meaningful moments of events, and to gain insight into their own development. |

Now I will show you the steps that you need to create your own StoryMaps.
How to Make Your StoryMaps
1. Log in with your Google account.
2. Click “New”.
3. Create your title slide first. Type the title/name of your StoryMap. Then click “Create”.
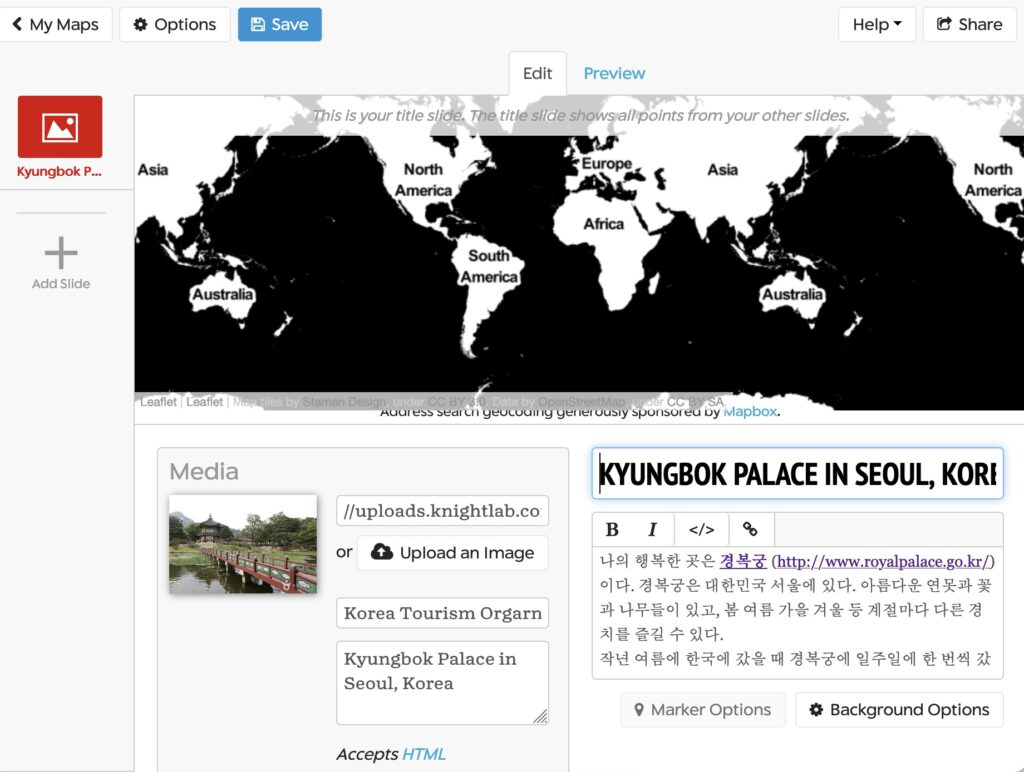
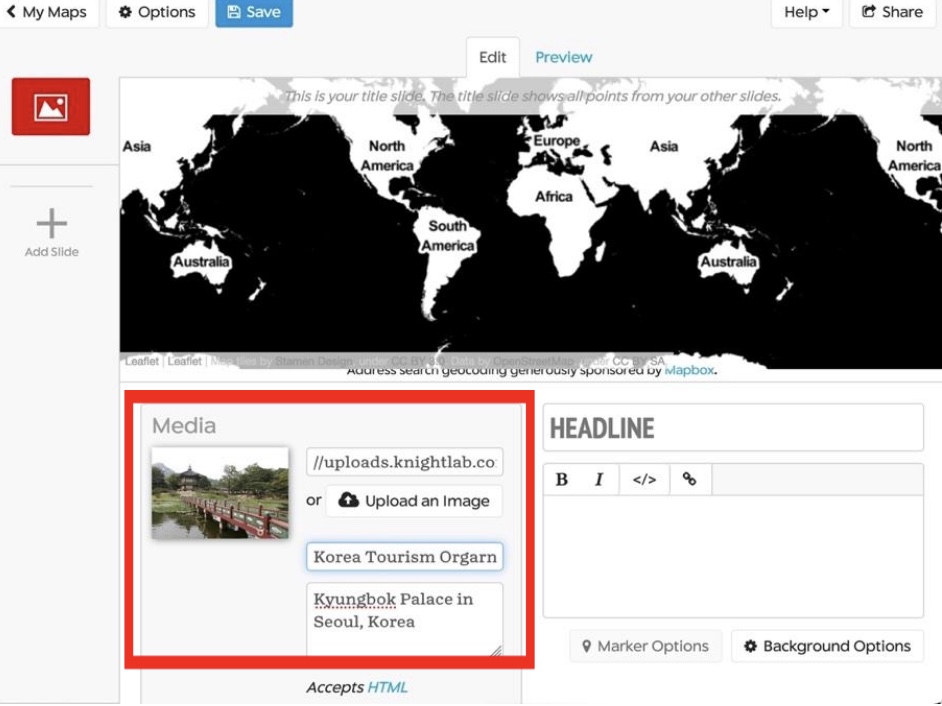
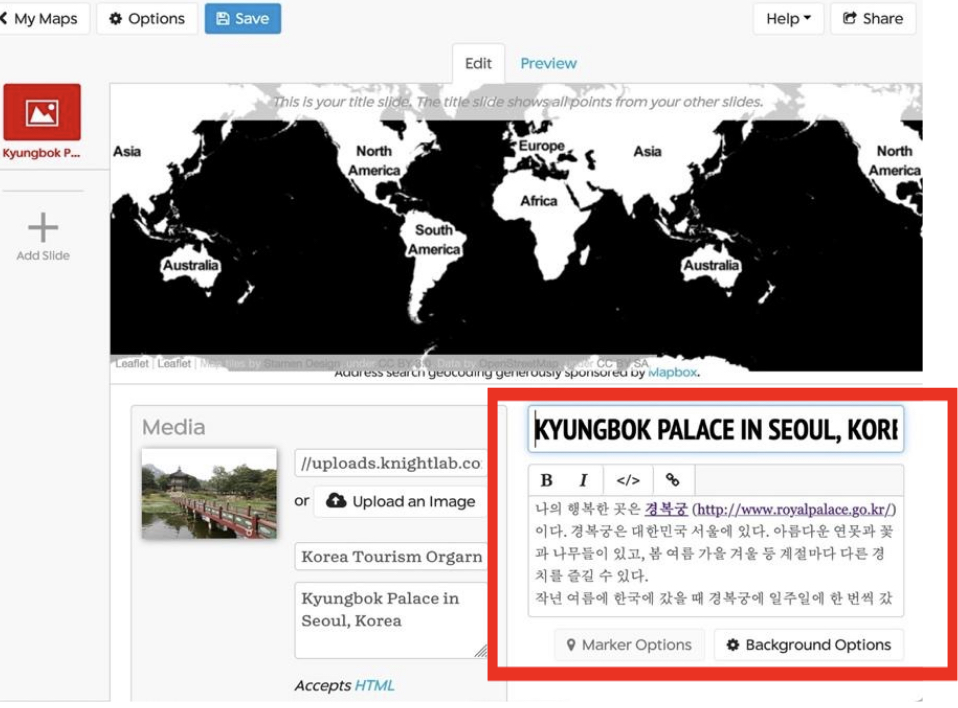
4. Add Media: Upload an image from your computer or Add URL for audio/video.
5. Type a caption text and credit for the image or video.
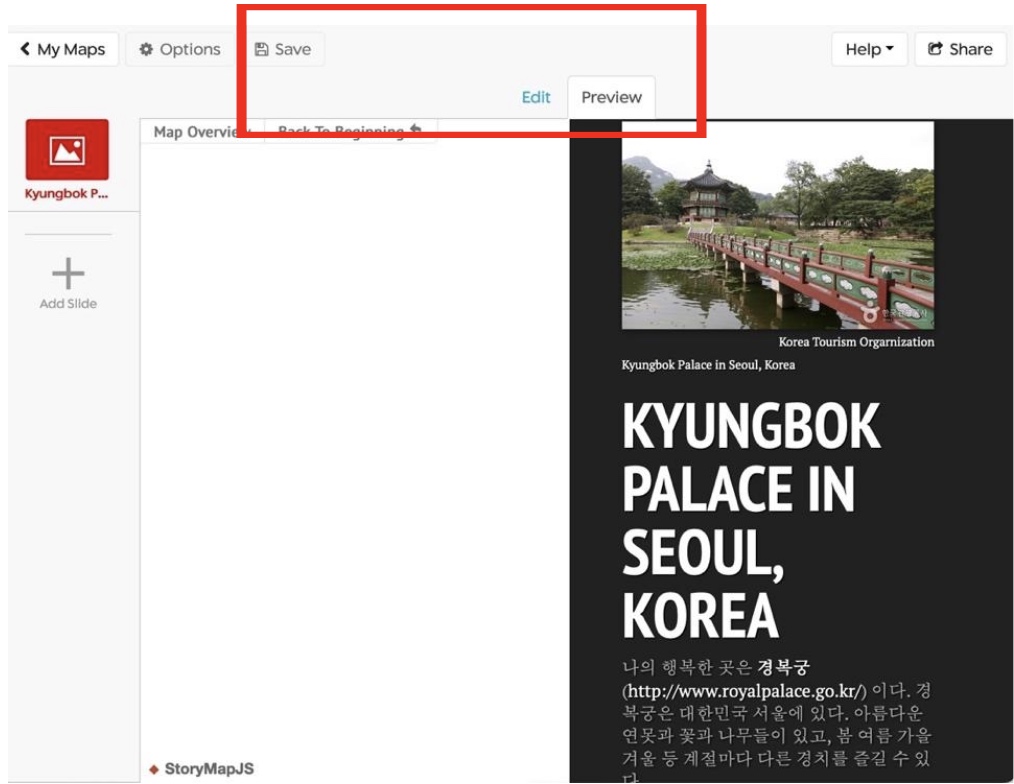
6. Make sure to click “Save”. Then, click “Preview.”
7. Add a headline and a story/narrative in the text box.
8. Save and preview to see your progress.
9. Click “Edit” to continue editing.
10. To add slides, click “Edit” then click “Add Slide +”.
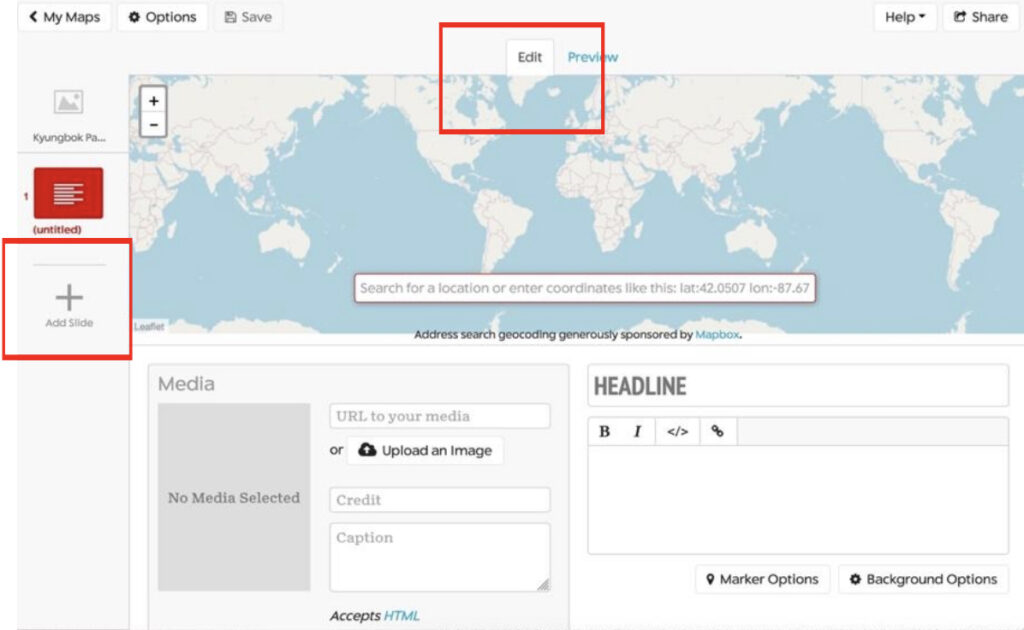
11. Each time you add a new slide, you will see the map search box for mapping your place on the map. Search the place of your story.
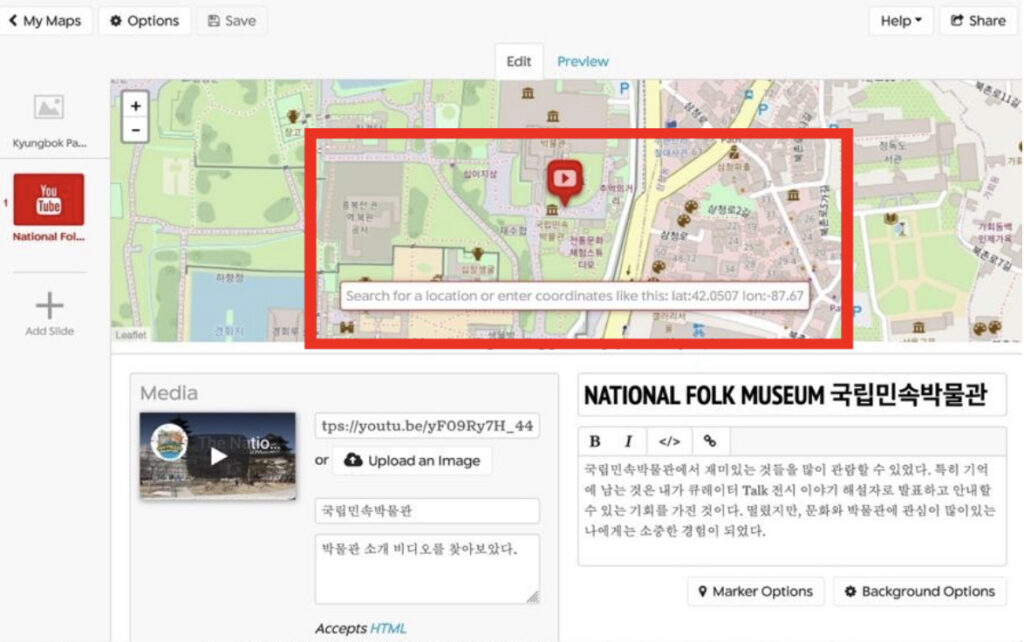
For Mapping, add a slide for each place in your story. Setting the location is easy: search for the name or address.
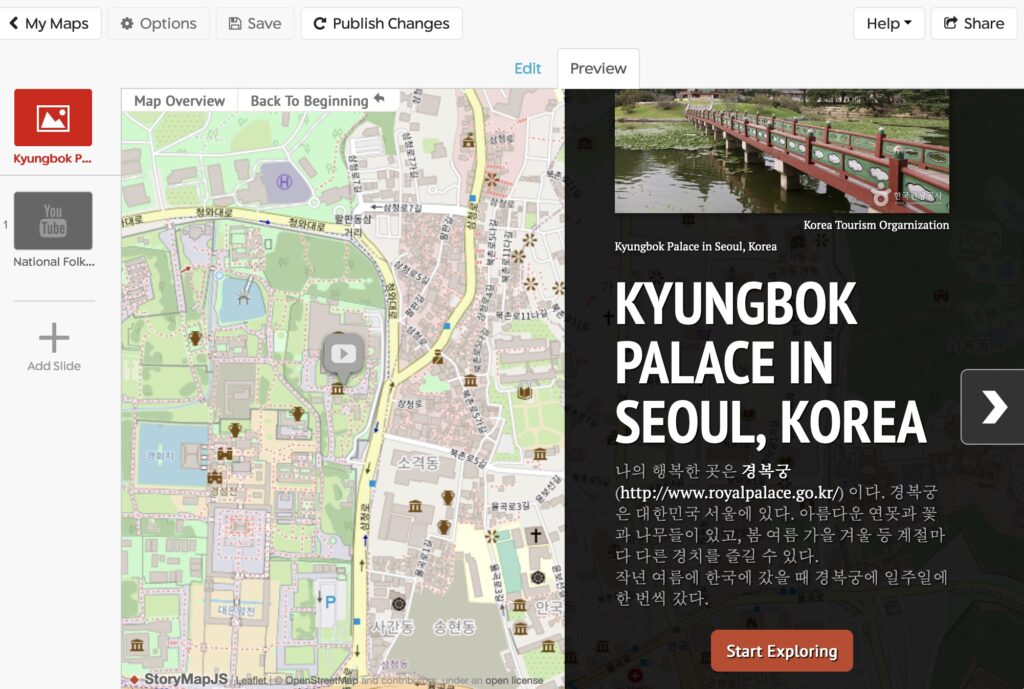
For example, StoryMap Slide 1 is for the National Folk Museum in Kyungbok Palace.
12. Repeat the same process as in Step 4-7 to add more slides and Step 10 for mapping. Each student follows Steps 4-7 and 11 to add their slide for a collaborative class project.
Additional Information
- Language Support: StoryMap JS gives you a variety of options of (about 30) world languages to use in controls and messages when displaying your StoryMap. Click “Options” and then choose your target language.
- Class project: Each student can create StoryMaps and share with the class. Also, you could create a Google account for the class and have each student contribute their StoryMap slides as well.
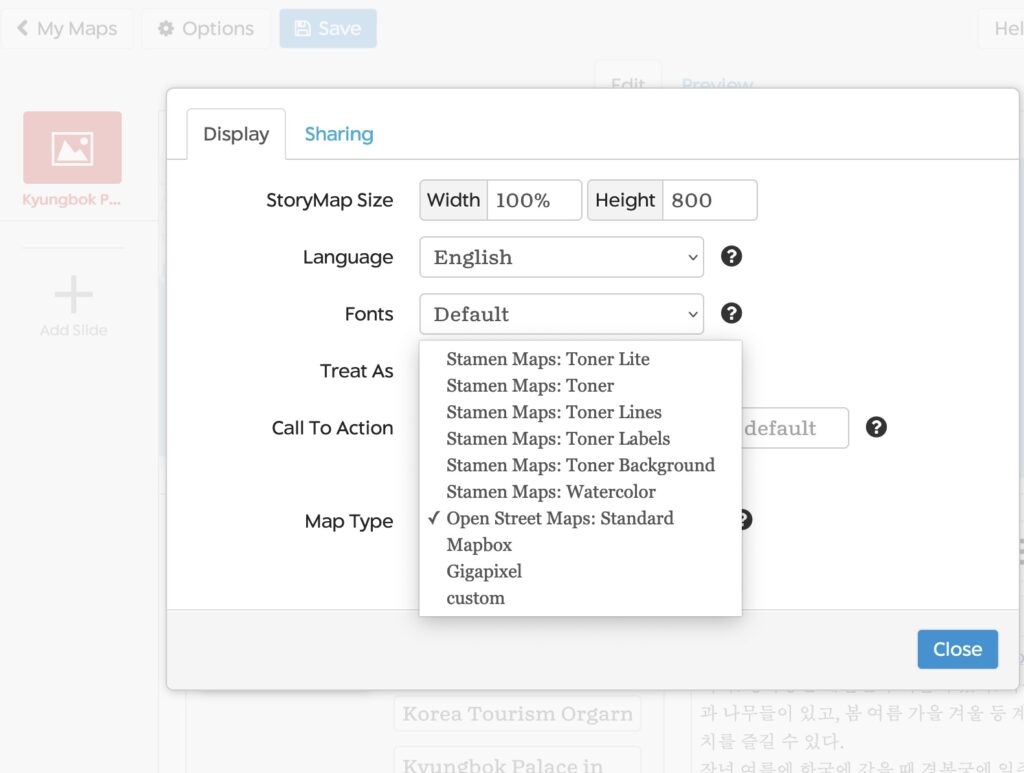
- Style of map: The visual style of the map can be changed with a few presets.
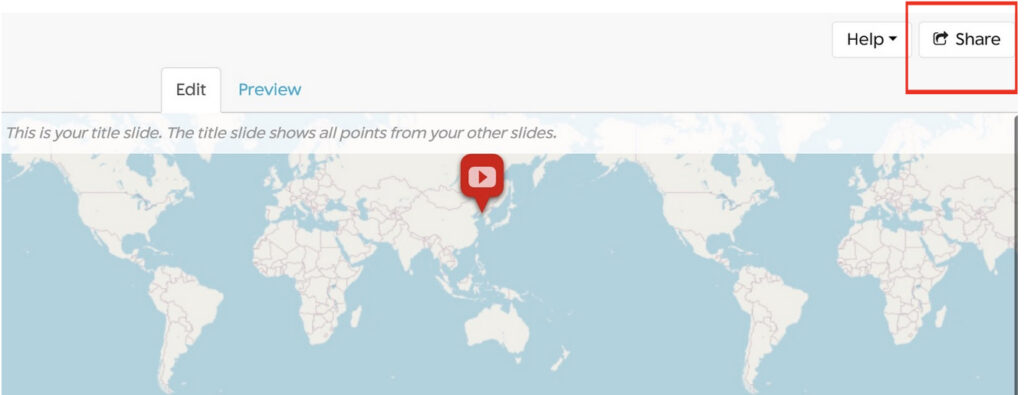
- Sharing and Publishing: Click “Share” to share the project with others (e.g., instructor, classmates). Then you will see the shared link created for your project. You can copy the embed code of your project and put it on your own website.
Conclusion
The StoryMap JS platform promotes multimodal communication. Through reading and writing text, students apply not only vocabulary and grammar but also stylistic differences and registers in written text, and the audio or video component provides students with listening and speaking practice. Further, the interactive mapping component helps students visualize the map and location. This makes lessons and language use more engaging, personalized, and enjoyable.
Through place-based storytelling projects, my students used geographical locations as the starting point to create authentic, meaningful, engaging, and personalized learning in a variety of contexts. Practically any place, including the students’ own “places” – home, campus, neighborhood, town, community, or countries – can serve as a valuable resource in place-based storytelling. Making effective and practical use of technology through StoryMap JS enabled my students to experience creating and sharing their stories about places and apply what they have learned in the language classroom to meaningful and creative language use in real-world contexts. Places on a map may mean no more than geographical places, but they can be significant and influential places in one’s life when shared with their stories.